


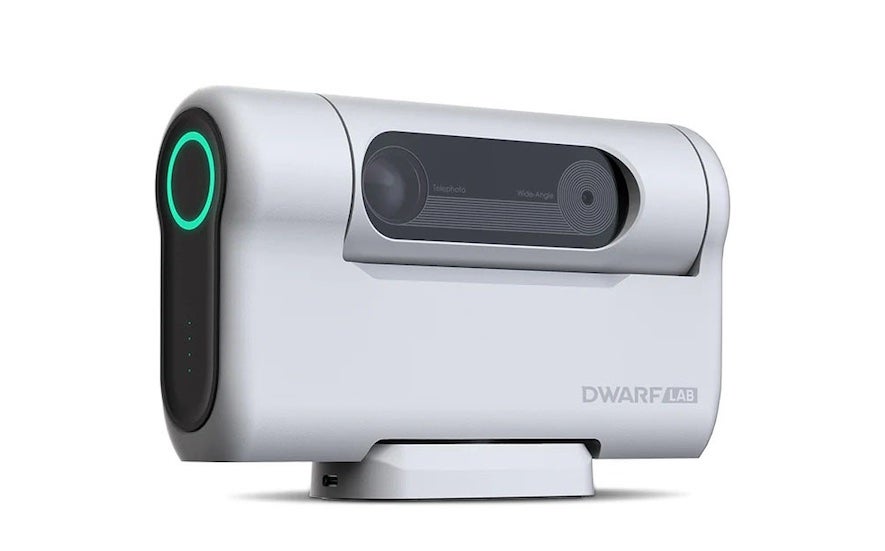
DwarfLab's DWARF II smart telescope contains dual apochromatic lenses: telephoto and wide-angle. Credit: DwarfLab
We have smart phones, smart cars, smart appliances, and even smart light bulbs. What about smart telescopes?
You could say that smart telescopes have been around since the first models were introduced decades ago. But in recent years, a new generation of even smarter telescopes has become increasingly popular. However, these state-of-the-art smart telescopes are not intended for visual observation. They don't even have an eyepiece to look through. Instead, they include built-in cameras that connect to smartphones and tablets and allow the user to view and photograph celestial objects on a screen. And if that wasn't enough, they come in small packages, making them easily transportable inside a carry-on bag.
One of the new products in the sector is the initial offering of DwarfLab, the DWARF II Smart TelescopeThis strange-looking device looks more like the twin-eyed cameras mounted on the masts of the Mars rovers Curiosity and Perseverance than a conventional telescope.
What's in the box?
The DWARF II’s ingenious optical design includes two apochromatic objective lenses: one for wide-field imaging and a second for telephoto shooting with a 24mm aperture. Light passes through an internal series of prisms and lenses spaced across the width of the housing to focus images onto a Sony IMX415 STARVIS sensor. The four-element f/4.2 telephoto lens has a collapsed focal length of 100mm; taking into account the sensor’s crop factor, the equivalent focal length is 675mm. The wide-angle lens has an equivalent focal length of 48mm at f/2.4.
The DWARF II is available in two versions: Classic and Deluxe. The Classic edition includes a replaceable battery, a 64GB microSD card, and a 13- to 17-centimeter-tall tripod. The Deluxe version includes a second battery, two 1¼” neutral density (ND) solar filters, a 1¼” ultra-high contrast (UHC) filter, and a filter adapter. Both options include a soft case to hold everything. The case measures just 24cm by 18cm by 15cm and weighs just 2kg when fitted with the filters, tripod, and second battery.
Last winter, I had the chance to test out the Deluxe DWARF II to see just how clever this compact telescope is. I was honestly a bit hesitant due to its small aperture, but I ended my first session convinced by DwarfLab.
After opening the box, I downloaded and installed the DwarfLab app on my phone. The app, available for both iOS and Android systems, controls all of the telescope's functions and connects with the DWARF II effortlessly. It allows you to operate the telescope in several modes, as it can be used for both terrestrial and astronomical imaging. For this review, I'll be focusing on the app's “Astro” mode.
While I was writing this review, DwarfLab released a long-awaited update to the app. The newest version includes several welcome improvements, the most notable being an autofocus feature. Digital cameras often fail to focus well at night, but I was pleasantly surprised that DwarfLab successfully overcame that hurdle. Simply pressing the app's “Autofocus” command resulted in crystal-clear images.

It's show time
Before capturing nighttime images, I had the DWARF II take a series of dark frames that would be used later to detect hot pixels and other defects that would otherwise degrade subsequent astronomical images. Fortunately, this only needs to be done once per session during initial setup.
I went outside the next clear night and set up the DWARF II. Although a tabletop tripod is included, I used my own full-sized tripod as I didn't have any sturdy tabletops available.
Calibrating the telescope's reference function couldn't be simpler. After pointing the dual lenses at a wide swath of unobstructed sky and selecting “Calibrate” from the app's menu, the telescope quickly and silently moved back and forth—first left, then center, and finally right—to sync up with the current sky. The whole thing took less than a minute. Next, I selected a “Star Target” from its extensive list of objects. The little telescope quickly pointed itself and was always spot-on.
Before I could start taking pictures, I had to make some decisions. Did I want to save the images as FITS or TIFF files? Did I want to use the telephoto lens or the wide-field lens? What about exposure length? Shutter speed can be set to automatic or manually adjusted from 1/10,000 of a second up to 15 seconds. I usually chose my preference: eight to ten seconds.
I then selected a gain value from 0 to 240. This is similar to the ISO setting on conventional cameras. The higher the value, the brighter the recorded signal, but also the higher the noise. In most cases, I stuck with a value from 50 to 80.
There is also a built-in infrared (IR) filter that can be turned on or off. If you leave it off (labeled “Pass” in the app), infrared light will reach the sensor and is best used for emission nebulas. If you turn on the IR cut filter, it will block infrared light, which is great for other objects and normal daytime photography.
Finally, I chose the number of images I wanted to take. Normally, I choose between 50 and 200, but the DWARF II can capture up to 999 images.
Once everything was set up, I pressed the shutter button in the app and watched as the image expanded before my eyes on my smartphone screen. Best of all, after the initial setup, I did all of that from the comfort of my warm home. The DWARF II has a connection range of about 33 feet (10 meters), though it can be less if something blocks the line of sight.
Small but mighty
Images can then be downloaded to your phone or tablet for easy sharing with friends and family. Or, if you prefer, you can remove the memory card from the telescope and process the images on a computer. The DWARF II stacks and processes all images automatically, but also saves each image individually for post-processing using third-party software.
Each battery that came with my DWARF II was rated for about 1.5 hours of battery life in frigid weather; in warmer climates, it should last longer. If an extended session is planned, an external power supply can be connected to the built-in charger at the base of the telescope using a USB-C cable.
I was amazed at the results I got from the little DWARF II. The first night I went out, I was able to set up the telescope, calibrate it to the sky, choose my exposure settings, and be ready to go after five or six minutes. Before I knew it, I was imaging several targets.
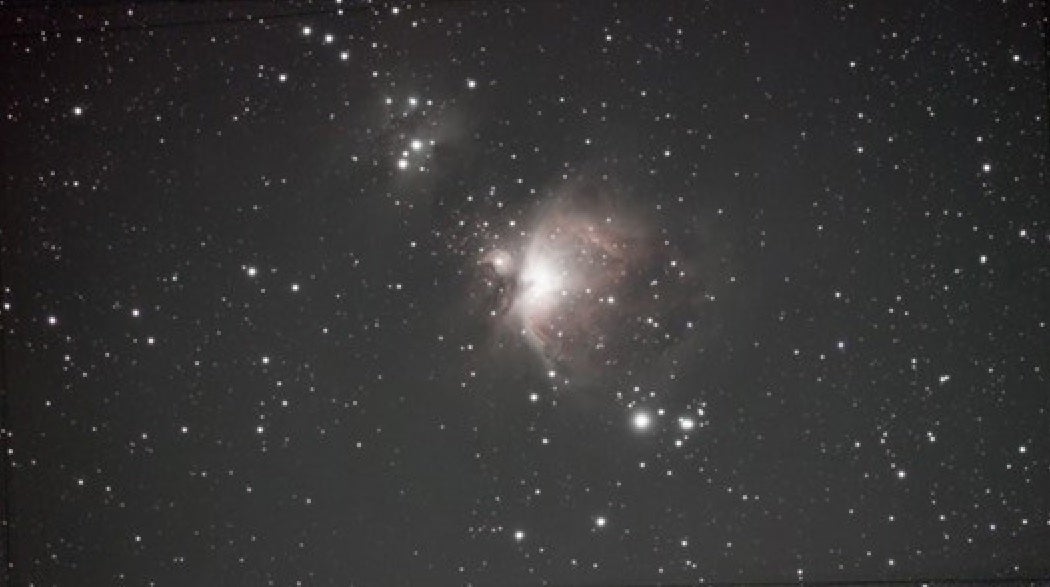
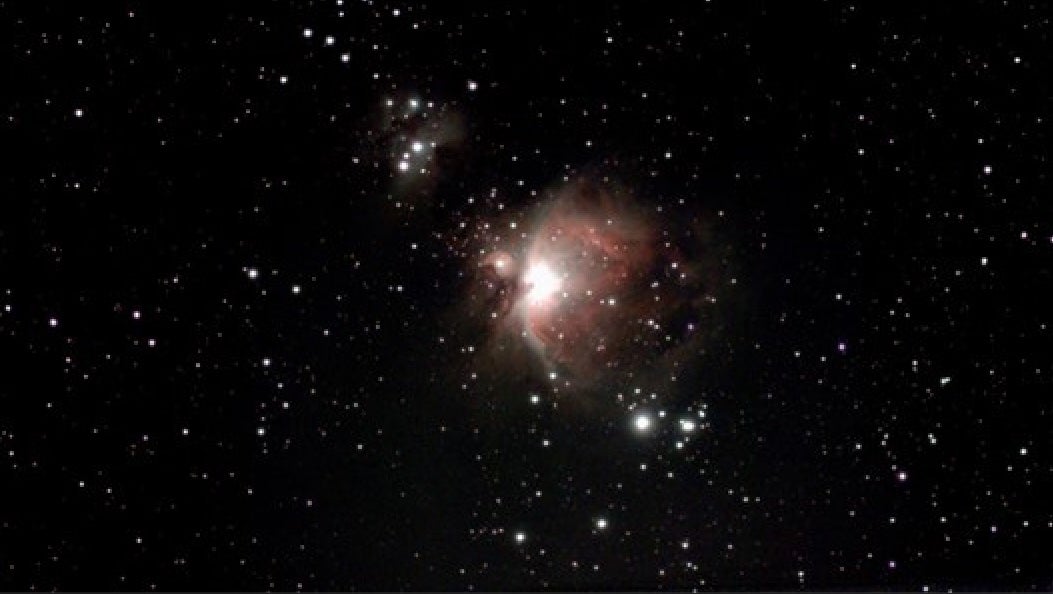
To capture the Orion Nebula (M42), I set up the DWARF II to take 100 individual images with an 8-second exposure each. I reduced the light pollution in the backyard of my suburban home by using the provided UHC filter. The nearby Horsehead Nebula was nicely captured using 200 ten-second exposures.
I then aimed for the Pleiades (M45), which fit easily into the field of the telephoto system. The brightest stars appeared a bit puffy, which could have been caused by the optics or high clouds. But what really struck me was that I also caught the faintest hint of the magnitude 16 galaxy UGC 2838, which lies 16′ west of Electra (17 Tauri). That’s astonishing for a 24mm aperture.
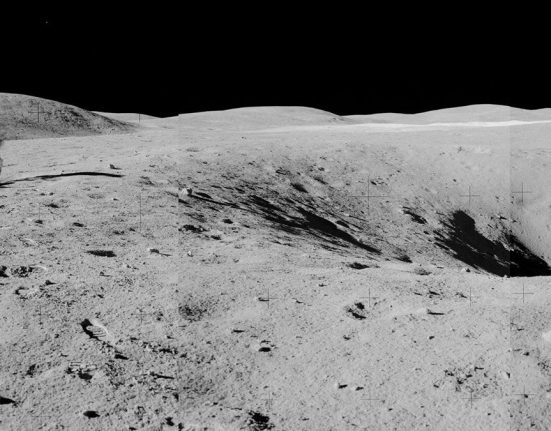
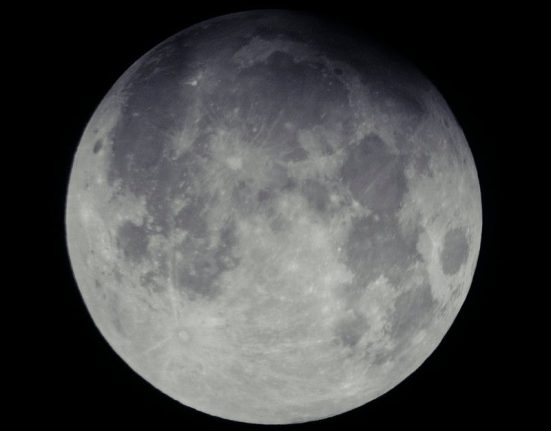
I continued to fill my onboard album with fantastic images, including of the Sun and Moon. Planets are not DWARF II's strong point due to the short focal length, although Jupiter's moons can be observed. But for deep sky objects, its power is astonishing and should not be underestimated.
I was very impressed with the DWARF II. While you can't expect the images to compete with high-end imaging equipment, the ease of use and extraordinary results will certainly get many people interested in astrophotography who might otherwise be put off by the difficulty or cost. DwarfLab's DWARF II is just plain fun and I hope it revolutionizes our hobby.